fuzzlab: big, red, knobby and noisy
Imagine a Fuzz pedal unlike any other. Imagine five distinct classic circuits interconnected, with an assload of knobs, dials, gauges, and switches. Imagine all of this in one box--the ability to dial in any type of Fuzz Tone Goodness...
The general idea
Way back when, the earth cooled, the dinosaurs appeared, and I decided it was time to add a Fuzz box to my effects chain. I hadn't played a fuzz in a long time, and was yearning for that wooly, buzzy, sustain for days type of sound. So I went on the usual pilgrimage to Guitar Center to try out the stock mass-marketed assortment. Unsatisfied, I then proceeded to a couple of the local small shops, which had a variety of new and used fuzz boxes from different manufactures.

Resplendent Red
I tried the ZVex Fuzz Factory, a FuzzFace re-issue, a couple of the EHX units, a FullTone fuzz (the 1969 I think) and various other fuzz pedals. Most of them sounded good, but to get the versatility I wanted out of a fuzz pedal, I would have ended up buying multiple pedals, spending lots of money (not a behavior popular with my then wife) and mucking about with patch cables, tweaking, etc.
I returned from my Fuzz quest empty-handed. After some thinking, I realized that what I really wanted was the ability to try lots if different circuits, and add modifications at various levels. I wanted some of the classic pedals and the ability to switch mods on and off and to see how the different fuzz designs interact with each other.
Basically what I wanted was the ultimate fuzz tweaker toolkit, all in one monster pedal with lots of knobs, switches, meters and other twiddly bits. No commercial outfits have offerings that come close to what I wanted, so it sounded like a cool (and ambitious) DIY project.
The Modules
In the quest for ultimate fuzz satisfaction, I decided that the FuzzLab would need to have at least three distinct fuzz designs on tap. It would also be nice to have a boost stage, and maybe some type of octave circuit. This led to the five module design.
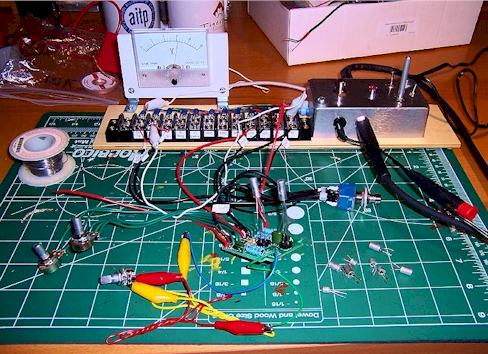
Running the ToneBender on the test bed at 6 volts
-
Boost Stage: I wanted the ability to add various
types of signal boost into each fuzz circuit. This would provide
the overall FuzzLab with the kick in the pants to pre-drive any
of the fuzz circuits. The design I settled on is the Tri-Boost
kit from
BuildYourOwnClone
(BYOC). The great thing about the tri-boost
is that it is a nice front-end to the various fuzz stages. It
can do the classic Rangemaster treble-boost, a linear boost, or
a clean boost, has a boost knob, and I’ve made it all switchable
from the front panel.
-
Fuzz Face Stage: This is were 80% of the work and
misery was. I wanted the standard Fuzz Face circuit, but with
lots of mods. I wanted to be able to switch between Geranium and
Silicon transistors, or dial in a hybrid of the two. I wanted
the boost, and bass cut mods. I also wanted adjustable bias.
After a few false starts trying to design and build a PCB
myself, I realized that BYOC’s Fuzz clone had the stock
circuitry, plus some interesting notes on mods. So my Fuzz Face
stage is a heavily modified BYOC kit.
-
Bender Stage:
This is the clone of the Colorsound
ToneBender MKII which is a close variation of the Fuzz Face but
adds and additional drive transistor. The mods I selected for
this module are adjustable bias.
-
Big Muff PI Stage: The BMP is plain and simple
kick-ass. Probably one of my favorite fuzz boxes. So I had to
include a BMP clone as a module. I got a board from General
Guitar Gadgets, made a few mods to the tone stack (the standard
tone stack has too much range centered around the treble end)
and made the bias transistor on the fourth transistor switchable
in and out of circuit. This mod allows the BMP to achieve
asymmetric clipping and softens things up a bit.
- Octave/Ring Mod Stage: You’ll hear a lot about how well and octave circuit adds to great fuzz. I chose the Green Ringer circuit from General Guitar Gadgets. The Ringer is a bit partial to where you are playing on the neck and which pickup you are using, but adds a pretty cool dimension to the sound.
Switching Inputs and Outputs
Once I built and tested each module, the next question was how to switch between effects? I could have hardwired them in a specific sequence, but would have been contrary to the overall design goal of flexibility and tweakability. Additionally, I want to retain true-bypass switching in each module. My first thought was to go crazy and design a digital switching circuit based on CMOS chips. After a lot of research and late nights looking at schematics, I realized this was both overly ambitious and could potentially added degradation to the signal paths.
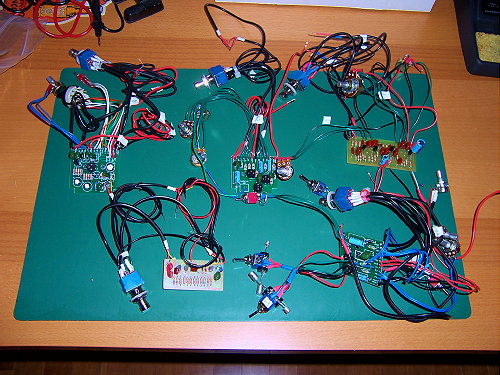
All circuits built, tested and ready for mounting
I also looked at designing a large matrix of relays and switches, but this would have introduced cost and complexity issues that just didn’t warrant the effort.
As with many things in life, the best solution was the simplest. On the back panel, I would add in and out jacks for each of the effects, and use patch panels to arrange module order. This also yielded the ability to use any effect in the FuzzLab on its own.
Handling Power
Obviously, with all the circuits in play, support battery power would be problematic. Do I add 9v battery clips for each stage? Should I have a big box of C or D batteries? Again, simplicity ruled the day. The entire box is powered by a Boss-style 9V wall wart. No batteries.
During the design of the FuzzLab, I also became intrigued with the concept of dying batteries and their effect on a pedal’s sound. There are lots of folks who swear that certain pedals sound better when the battery is not fresh. After some research, I came up with a very simple Dying Battery Simulator Circuit. I tested this circuit on each of the completed modules and it had very interesting results with each module except the Green Ringer. So obviously, I wanted to add an individual DBS to each of the modules. This required the incorporation of four additional potentiometers, panels, and SPST switches. Now I was getting somewhere—more switches dials and meters!
The Enclosure
The goal of most pedal builders is to fit as much circuitry in the smallest enclosure possible. This approach has several advantages. First, it forces the wire lengths to be as short as possible which helps with noise and radio frequency interference. Second, many pedal buyers have boards where real-estate is at a premium. The smaller the pedal, the more you can fit on your board.
Obviously, the amount of stuff in the FuzzLab does not lend itself to conventional enclosure sizing. After much searching and buying enclosures of various sizes, I settled on an 8” x 4” x 11” panel box. It is made by LMB Heeger out of Commerce, CA and the part # is MDC-1183. The box is made of fairly sturdy aluminum and has (barely) enough surface area for all my switches, knobs, pots and meters.
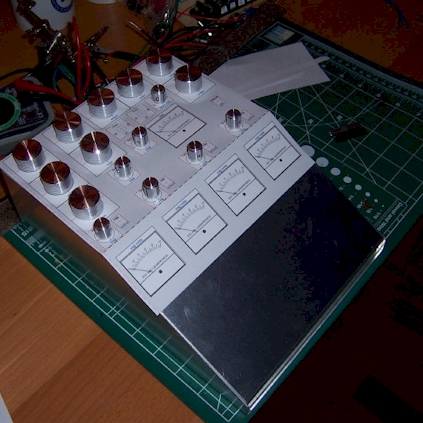
Trying to figure out where everything would live
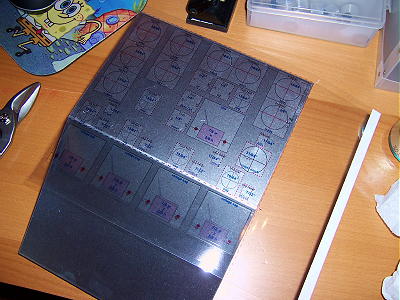
I found that printing the test overlay on overhead transparency inkjet paper
made it easier to see the holes as I drilled them.
Actually designing the panel layout was more work than I anticipated. I had to measure the knob and switch clearance, figure out how much space each component takes underneath the panel, and play drag and drop in my drawing program for many nights to get everything to both fit, and be relatively ergonomic at the same time.
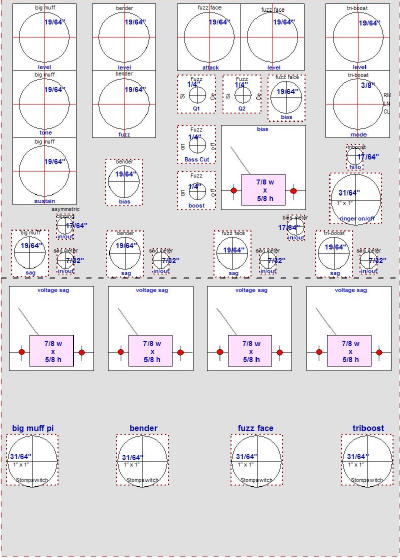
The control layout as done in SmartDraw Professional
(click on the picture for a larger version)
Measure Twice, Swear Once
I also realized that it would be smart to build a top-panel test template first and drill it out and place all the knobs, switches and meters where they should be. This would allow me to test out the clearances and make sure I actually had enough room behind the scenes before I started in on the real enclosure. To accomplish this, I went to the local hardware store and bought a couple of "For Sale" signs. They are made out of thin gauge aluminum and where pretty easy to cut to size using my handy tin snippers:
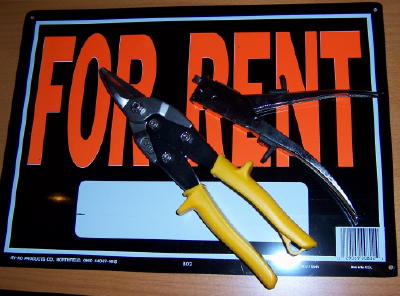
Three Dollars for a nice template in easy-to-work
thin aluminum. Cutting shears and a
nibbler (and a few round files) were all I needed to build the
template.
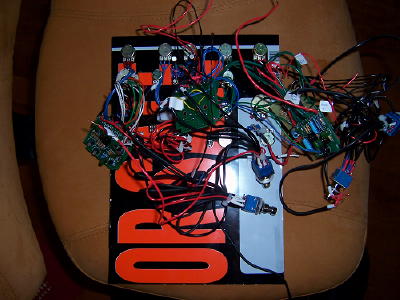
Now the pots and switches are mounted to see if each part has
enough clearance. Looks like it will work.
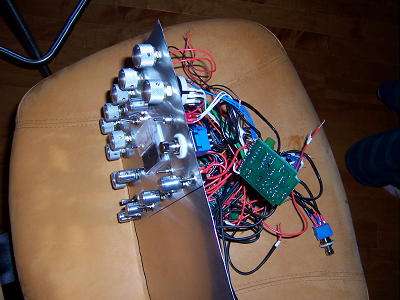
Another view showing the front of the test panel and various bits hanging out the back.
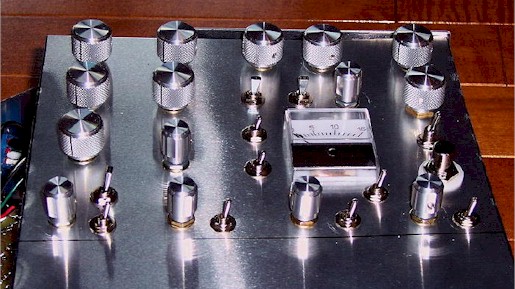
Super Shiny
After sorting out the test panel layout, I made a few tweaks and then proceed to drill the real enclosure. Here are some pictures of the work as it progressed:

Another view showing the front of the test panel and various bits hanging out the back.
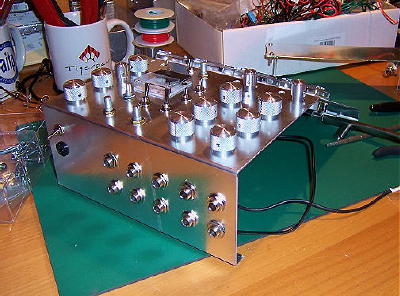
Drilling and placement finished on the back panel
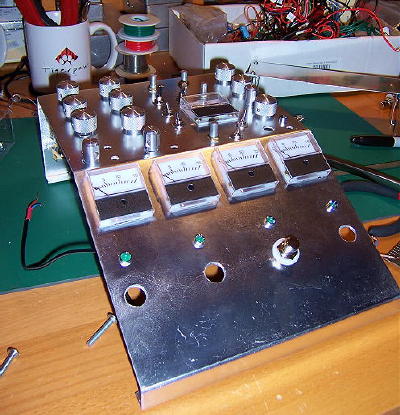
Meters and LEDs mounted on the front panel

Four coats of red automobile spray later. Now I need to figure out the
fonts and sizes for all the labels before I print to decal stock (the labels
will be black text on a clear mylar sheet).
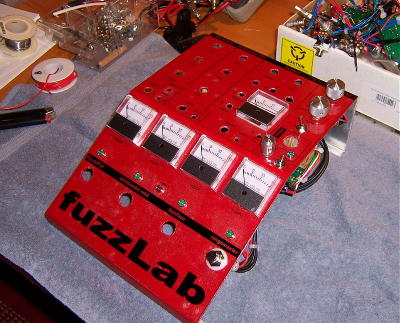
Getting so much closer...
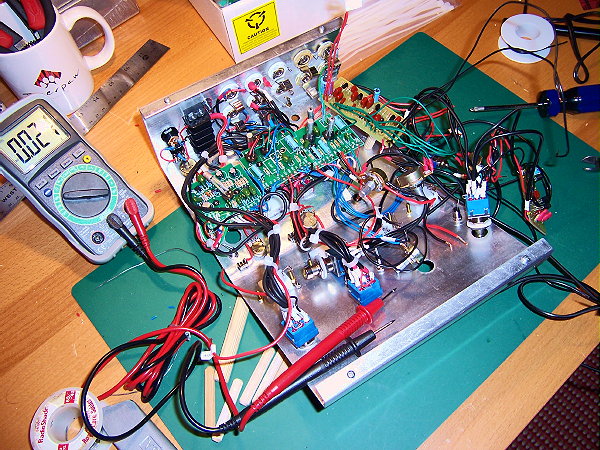
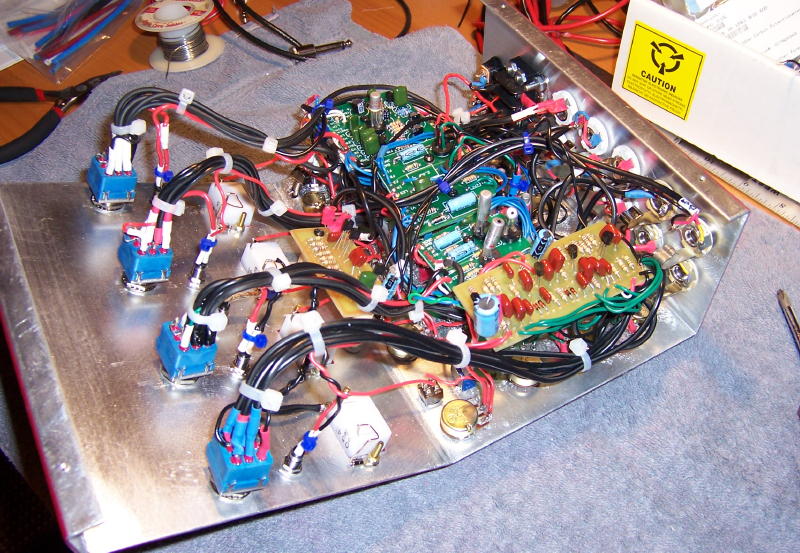
Gutshot of the semi completed pedal
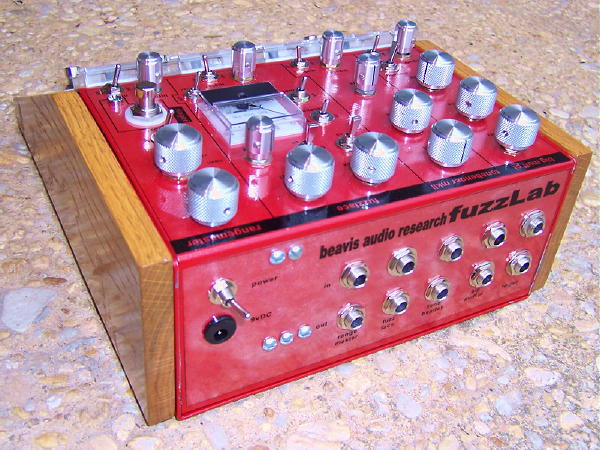
Fully compeleted
The large size of the enclosure also led to wiring problems. The distance between the stompswitch and the back panel jacks is much longer than in a traditional pedal, which interjects all sorts of noise and nastiness, especially with finicky fuzz circuits. The solution was to create custom length shield wires on all signal runs and ground them to a single end. Lots of work, but worth it in terms of overall noise and interference levels.
In the End
Now that all is said and done, I learned a great many things from this project. I made a large number of mistakes and came up with a few mildly innovative ideas along the way. I also ended up with a huge pedal that looks cool :) Some Key Points:
-
Four fuzz circuits in one box adds some practicality to my
rig, but not any hugely new tones. A fuzz into a fuzz sounds
interesting, but not necessarily great.
-
My favorite of all the fuzzes is the Big Muff Pi clone. The
Fuzz Face can sound good, but it can just be too much work to
dial in *that* sound especially when the Fuzz Face isn't first
in the line of pedals.
-
Adding a voltage sag circuit to fuzz circuits adds a great
degree of control you just can't get otherwise.
-
A slight ring mod/circuit adds incredible nuances to your
tone, with or without fuzz.
-
Never underestimate the amount of time it takes to do the
integration work. I spent a total of about 20 hours populating,
soldering and debugging the individual PCBs. It took over 150
hours to do the actual integration, wiring, drilling, etc. Now I
understand why traditional pedal makers don't take on something
of this size.
- I've learned enough in this project to build just about any pedal design out there--in other words, there are *some* good reasons for making your first DIY project stupidly ambitious.
A Few More Pics

Yo where are the clips ho?
Gather round the fuzz bong homeys. Here's a clip of the fuzzlab, complete with my riveting narrative and ham-fisted playing.